How to Add Texture in 3D AutoCAD?
Preparing Your 3D Model in AutoCAD
Before you can add texture to your model, you need to ensure that your 3D object is ready. This preparation stage involves creating or importing your model and setting up the workspace.
1. Creating or Importing the 3D Model
If you haven’t already created your 3D model, you can do so using AutoCAD’s modeling tools. Use commands such as BOX, CYLINDER, SPHERE, and EXTRUDE to create basic shapes, and combine these to form more complex objects. If you are working with an existing model, simply import it into AutoCAD.
2. Setting Up the Workspace
Switch to a workspace that is optimized for 3D modeling. In AutoCAD, go to the Workspace menu and select 3D Modeling. This workspace provides all the necessary tools for working with 3D objects, including texture application.
3. Ensuring Proper Scaling and Alignment
Before applying textures, ensure that your model is scaled and aligned correctly. Textures in AutoCAD rely on the dimensions of the 3D model, so everything must be proportionate and properly aligned. Use the ALIGN and SCALE commands to make adjustments as needed.
Applying Materials to the 3D Model
Textures in AutoCAD are applied through materials. Materials define the appearance of an object, including its color, reflectivity, transparency, and texture.
1. Accessing the Materials Browser
To start applying textures, open the Materials Browser. You can access it by typing MATERIALS in the command line or by selecting it from the Visualize tab on the ribbon. The Materials Browser allows you to choose from a library of predefined materials or create your custom materials.
2. Choosing or Creating a Material
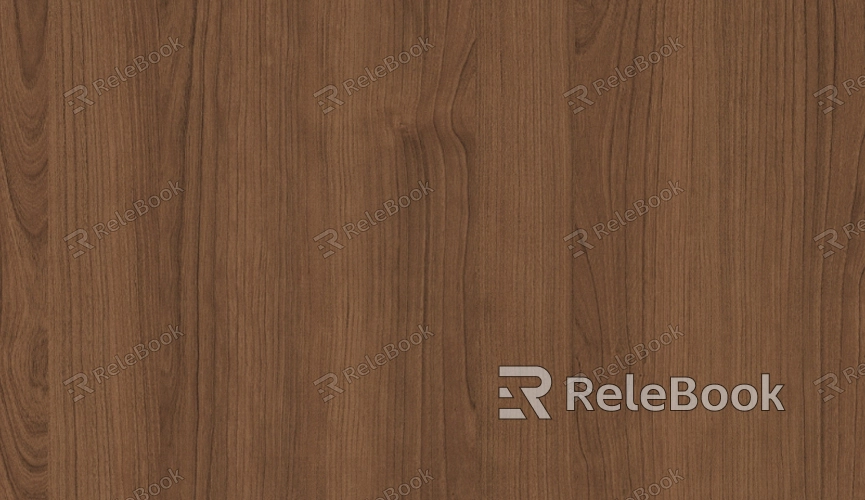
In the Materials Browser, you’ll find a wide range of predefined materials such as wood, metal, glass, and stone. Select a material that closely matches the texture you want to apply. If you need a specific texture not available in the library, you can create a custom material by clicking on Create New Material. In the material editor, you can adjust properties such as color, and reflectivity, and add a texture image to the material.
3. Applying the Material to Your Model
Once you’ve chosen or created a material, apply it to your 3D model. Select the object or objects you want to texture, and then click Apply Material to Objects in the Materials Browser. The material will be applied, and the texture will wrap around the model according to its UV coordinates.

Adjusting the Texture Mapping
After applying the texture, you may need to adjust how the texture appears on the model. This involves tweaking the texture’s scale, orientation, and position.
1. Using the Material Mapping Tool
AutoCAD provides a Material Mapping tool that allows you to control how the texture is projected onto your model. To access this tool, select the textured object, right-click, and choose Material Mapping. In the Material Mapping panel, you can choose different mapping types, such as planar, box, cylindrical, or spherical, depending on the shape of your model.
2. Scaling and Rotating the Texture
If the texture doesn’t look right, you may need to adjust its scale and rotation. In the Material Mapping panel, use the Scale and Rotate options to modify the size and orientation of the texture. This step ensures that the texture fits correctly and looks natural on your model.
3. Adjusting Texture Coordinates
For more precise control, you can manually adjust the texture coordinates. This is useful if the texture appears stretched or misaligned. Use the UV Coordinates option in the Material Mapping panel to tweak the positioning of the texture on the model’s surface.
Rendering and Finalizing the Textured Model
After applying and adjusting your textures, it’s important to render your model to see how the textures look in a finished image. Rendering allows you to visualize the effects of lighting, shadows, and reflections on the textured surface.
1. Setting Up the Scene for Rendering
Before rendering, set up your scene by adding lights and adjusting the environment settings. AutoCAD allows you to place different types of lights, such as point lights, spotlights, and distant lights, to enhance the appearance of your textured model. Proper lighting will bring out the details of the texture and improve the overall realism.
2. Rendering the Model
To render your model, go to the Render tab in the ribbon and select Render. AutoCAD will generate an image of your 3D model, complete with textures and lighting effects. Depending on the complexity of your model and the quality settings, rendering may take some time.
3. Reviewing and Refining the Textures
After rendering, review the output to see if the textures appear as expected. If there are any issues, such as texture distortion or incorrect lighting, go back to the Materials Browser or Material Mapping tool to make further adjustments. Re-render the model until you achieve the desired result.
FAQ
What types of textures can I apply in AutoCAD?
AutoCAD allows you to apply a wide range of textures, including wood, metal, glass, stone, and custom textures. These are applied through materials in the Materials Browser.
How do I create a custom material with a specific texture?
In the Materials Browser, click Create New Material and use the material editor to add a texture image. You can then adjust the material properties to suit your needs.
What is the best way to adjust a texture that looks stretched or misaligned?
Use the Material Mapping tool to adjust the scale, rotation, and UV coordinates of the texture. This tool allows you to control how the texture is projected onto your model.
How can I improve the realism of my textured model?
Adding proper lighting and using high-quality textures can greatly enhance the realism of your model. Rendering the model with shadows and reflections will also contribute to a more realistic appearance.
Can I use textures from external sources in AutoCAD?
Yes, you can import texture images from external sources and apply them as custom materials in AutoCAD. Make sure the texture image is compatible with your model’s UV mapping.
